Rollers
Written By knollp
Last updated About 1 month ago
Roles allow you to restrict your employees' access to and use of the 123erfasst Office interface.
If you want to set permissions/settings for using the 123erfasst app, you can find out how to do so at here.
To create a new role, navigate to Admin -> Users -> Roles.
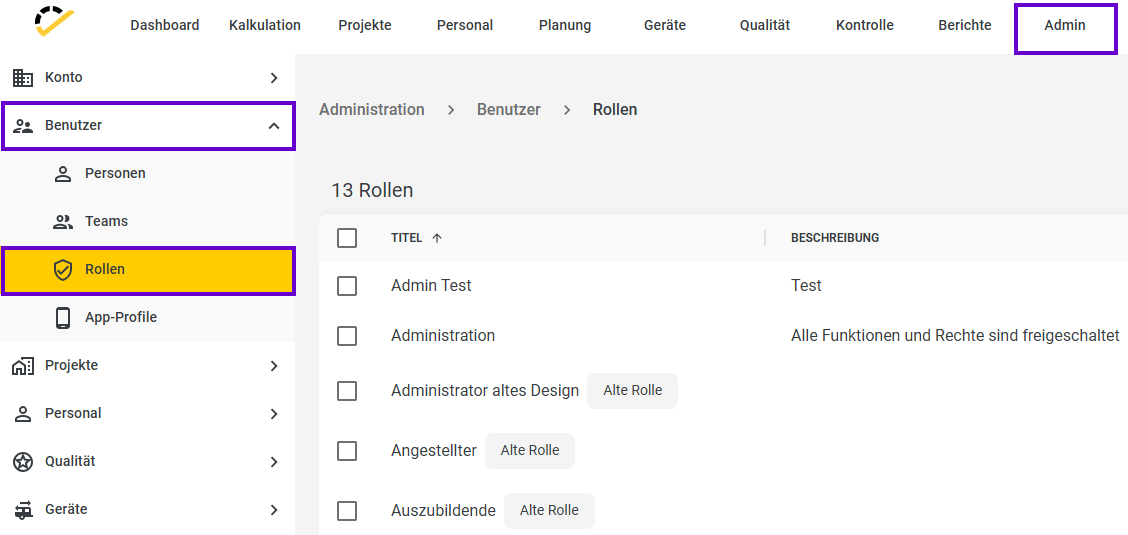
In this overview, you’ll see both our predefined standard roles and the roles you’ve created yourself.
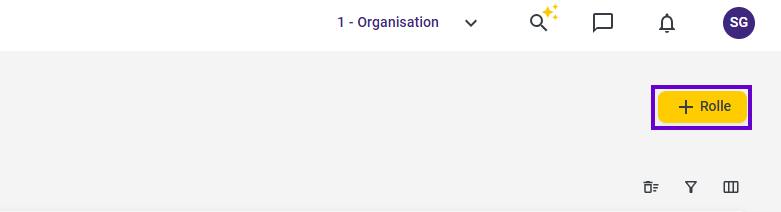
Click the +Role button in the top-right corner of the page to start creating your role.
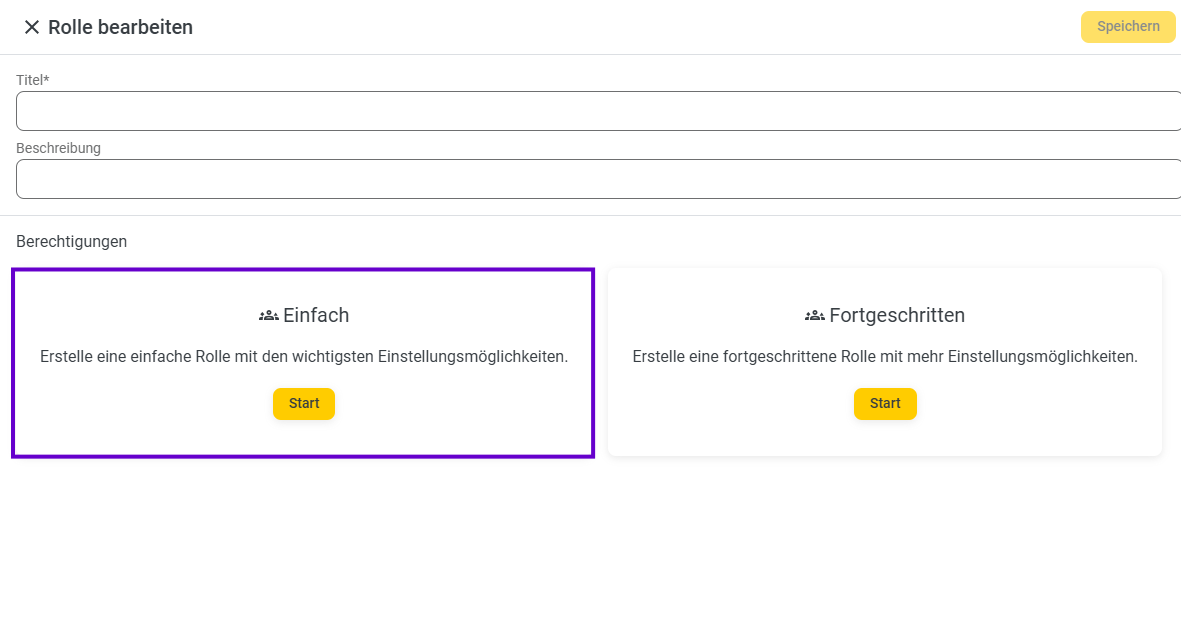
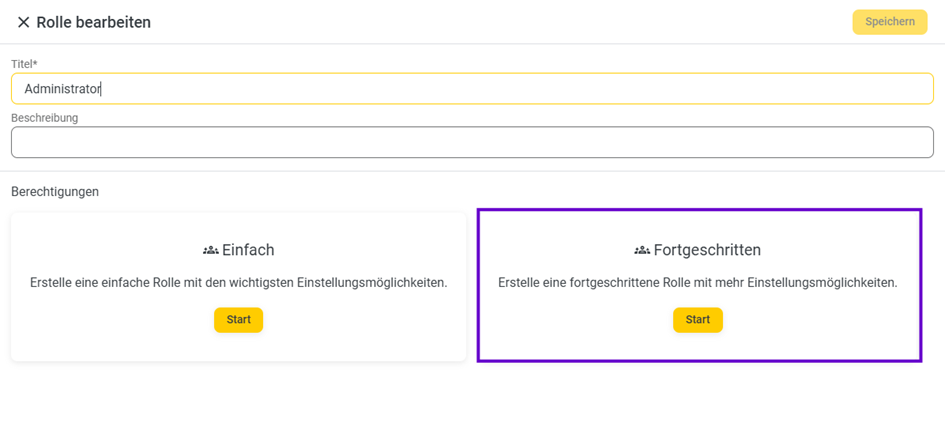
In the form that opens, first enter a name for your new role.
You can create a simple or an advanced role profile. The advanced profile is for additional and more detailed permissions.
Simple Role Profile
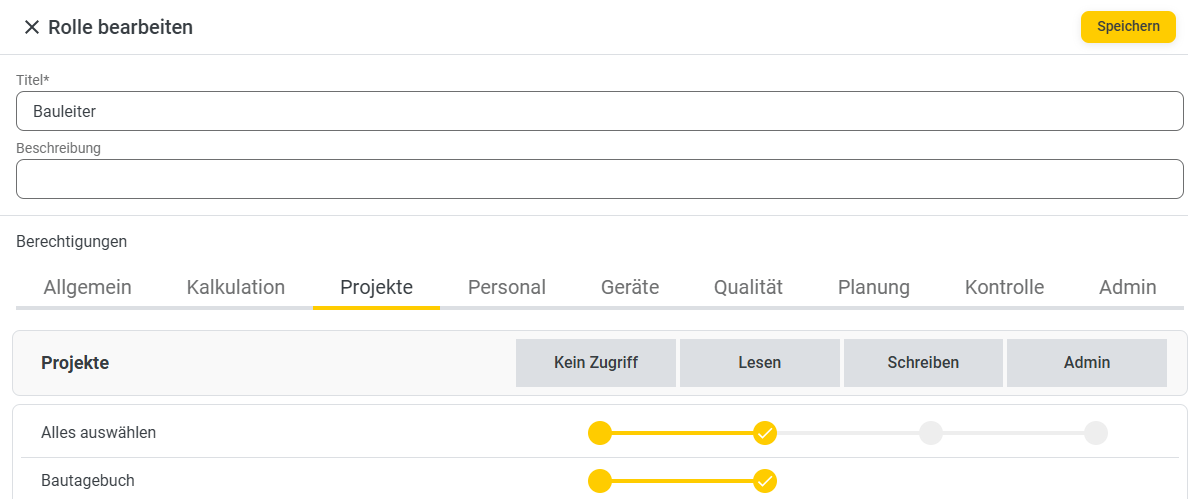
Click Start on the simple profile.
You’ll see an overview with several tabs.
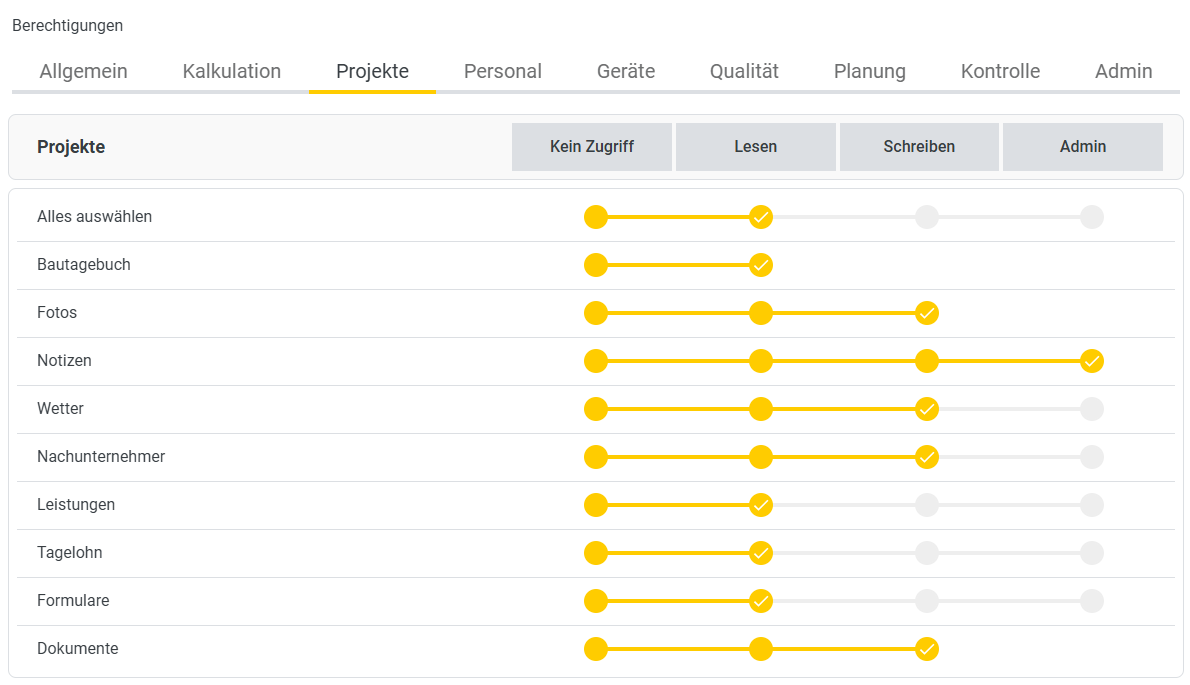
With the simple role profile, you can assign permissions to the 123erfasst Office menu items General (Dashboard), Calculation, Projects, Personnel, Equipment, Quality, Planning, Control, and Admin.
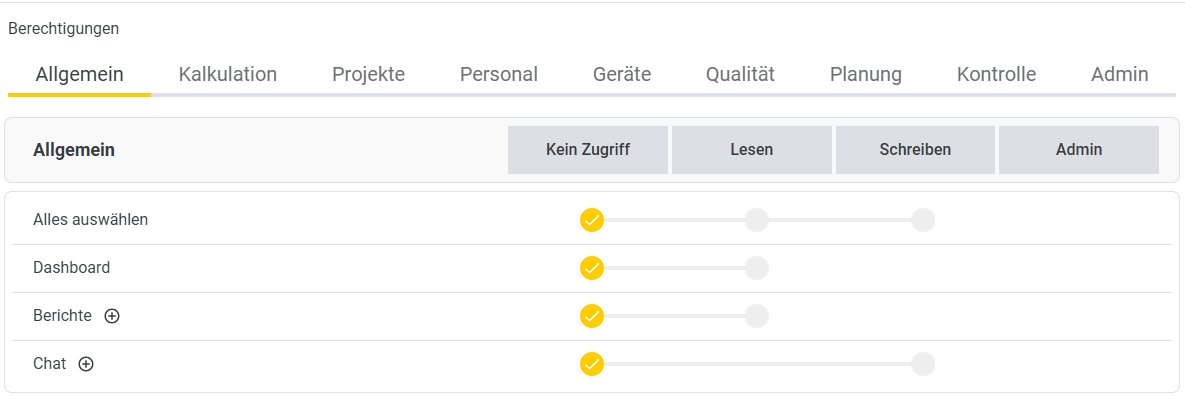
Below each tab, you’ll see the submenu items for the main menu item.
You can assign the permission levels No Access, Read, Write, or Admin to these individual submenu items.
The Write permission applies to both edit and create modes.
The Admin permission includes, in addition to Read and Write permissions, the ability to review and lock records.
Click the Save button to complete the creation of your role.
Advanced Role Profile
Click Start on the Advanced Profile.
You will see an overview with several tabs.
With the advanced role profile, you can assign rights to the 123erfasst Office menu items General (Dashboard), Calculation, Projects, Personnel, Equipment, Quality, Planning, Control, and Admin.

Below each tab, you’ll see the submenu items for the main menu item.
General
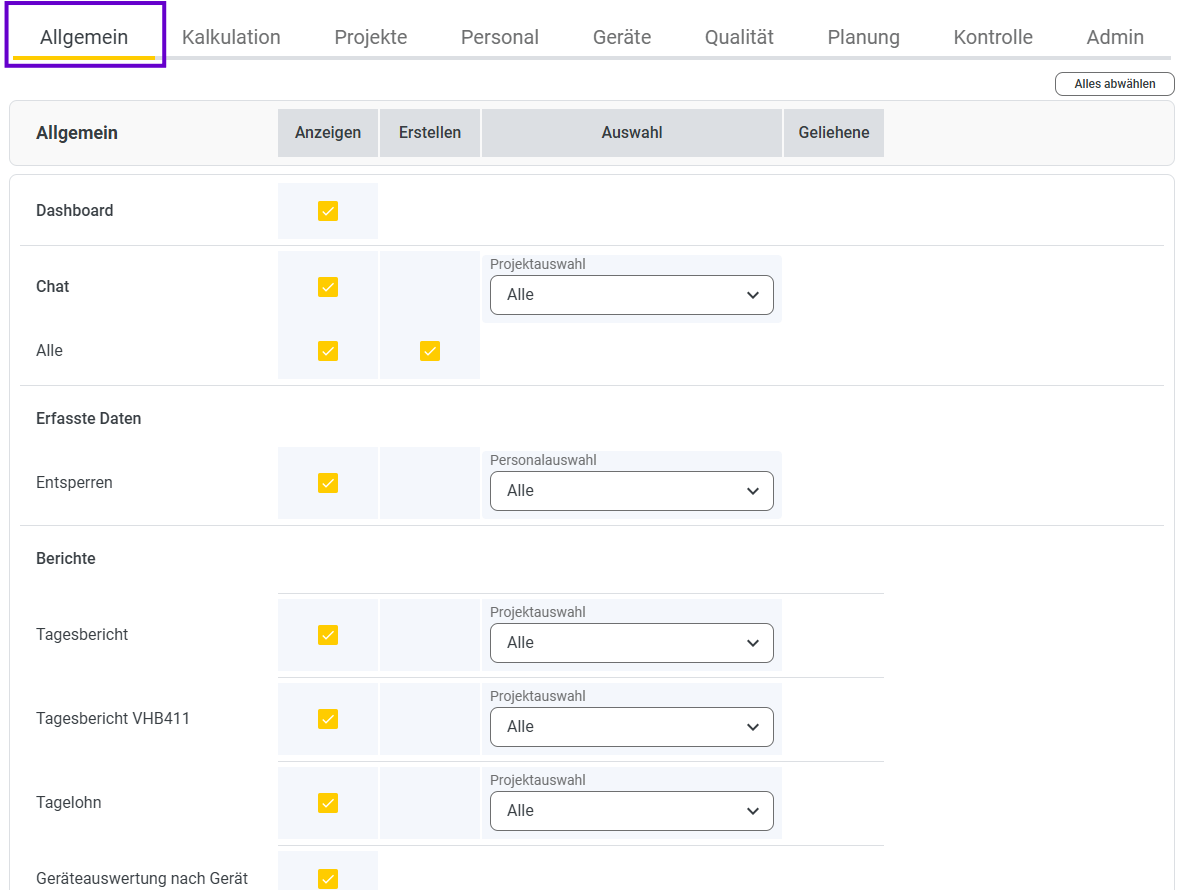
In the first tab, General, you can assign permissions for the submenu items Dashboard, Chat, Recorded Data (Unlock), and all standard reports.
You can assign the permission levels View, Create, and Selection (Project and Personnel Selection) to these individual submenu items.
To learn how to assign personnel, visit here.
In the Project Selection, you can assign the permissions Only My Own, All, Only Site Managers and Teams, Only Teams, and Only Site Managers.
In the Personnel Selection, you can assign the permissions Only Myself, All, Only Site Managers, and Only Teams.
To learn how to create a team, for example, visit here.
Calculation
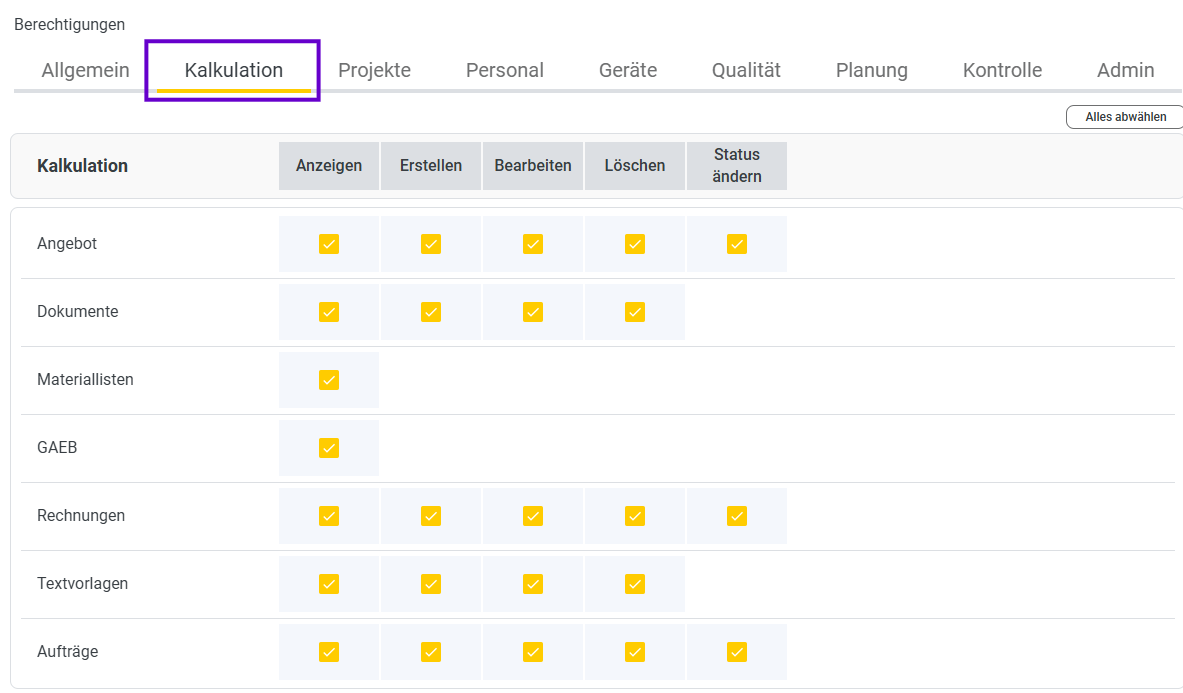
In the next tab, Calculation, you’ll see the submenu items with the permission levels View, Create, Edit, Delete, and Change Status.
The Change Status permission applies only to quotes, invoices, and orders. For example, in a quote
, you can set the status to Draft, Completed, Assigned, Lost, or Rejected. You can find
more information about costing at here.
Projects

Here you have the permission levels View, Create, Edit, Delete, View Deleted, Restore Deleted, Check, and Lock. You
can learn more about creating projects at here.
Personnel

In the Personnel tab, the menu items have additional submenu items. For example
, if you click on Times, additional subitems open.
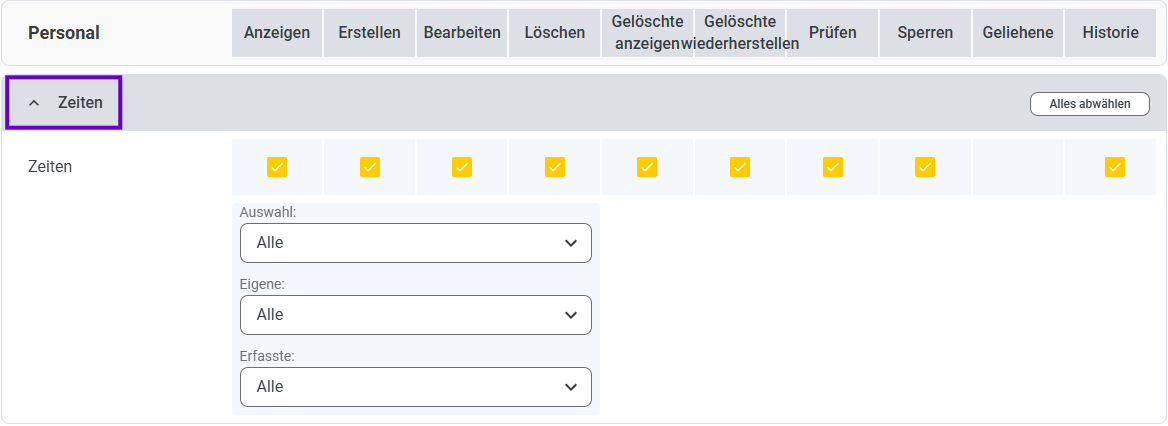
Here, you have the following permission levels: View, Create, Edit, Delete, View & Restore Deleted, Review, Lock, Borrowed, History.
Additionally, you can choose between None, All, Only Site Managers and Teams, Only Teams, Only Site Managers, and more.
You can find more help articles on personnel at here.
Equipment
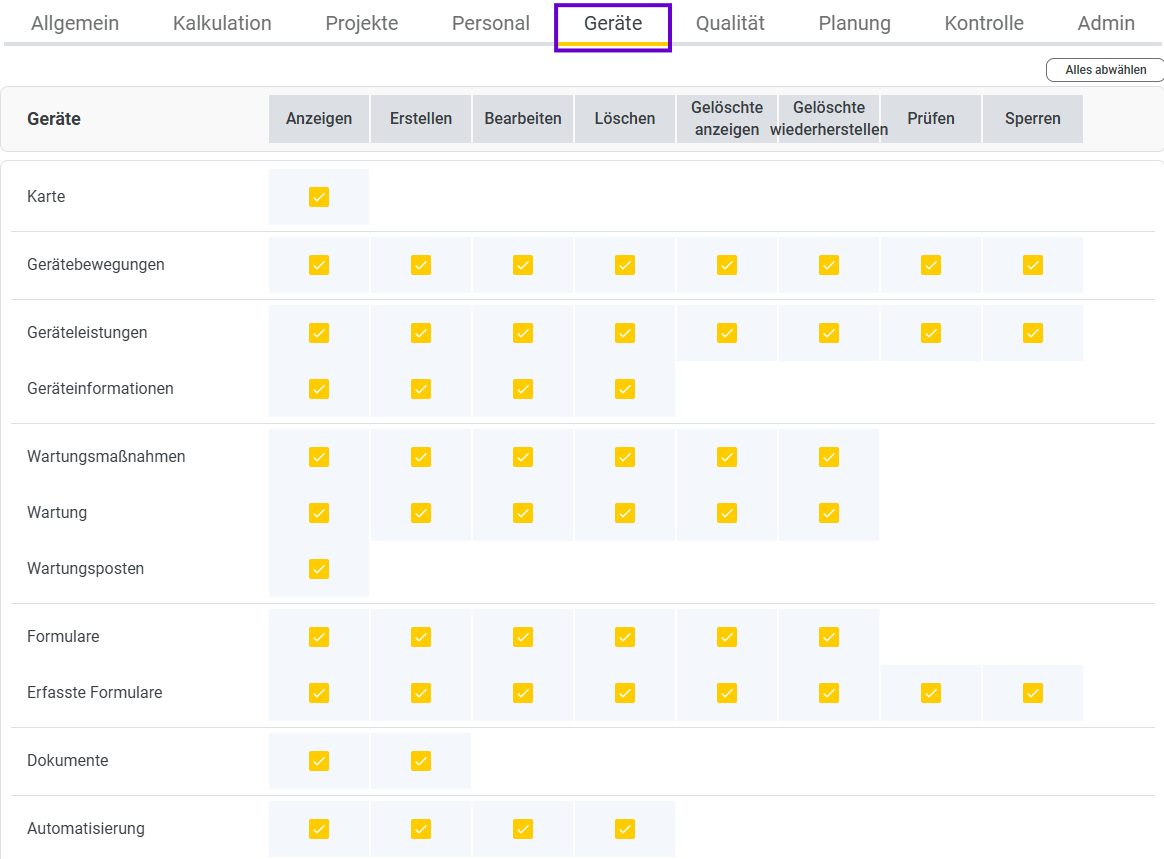
In the Devices section, you can specify for the submenu items whether users can View, Create, Edit, Delete, View & Restore Deleted, Check, or Lock the recorded data.
You can learn more about devices at here.
Quality
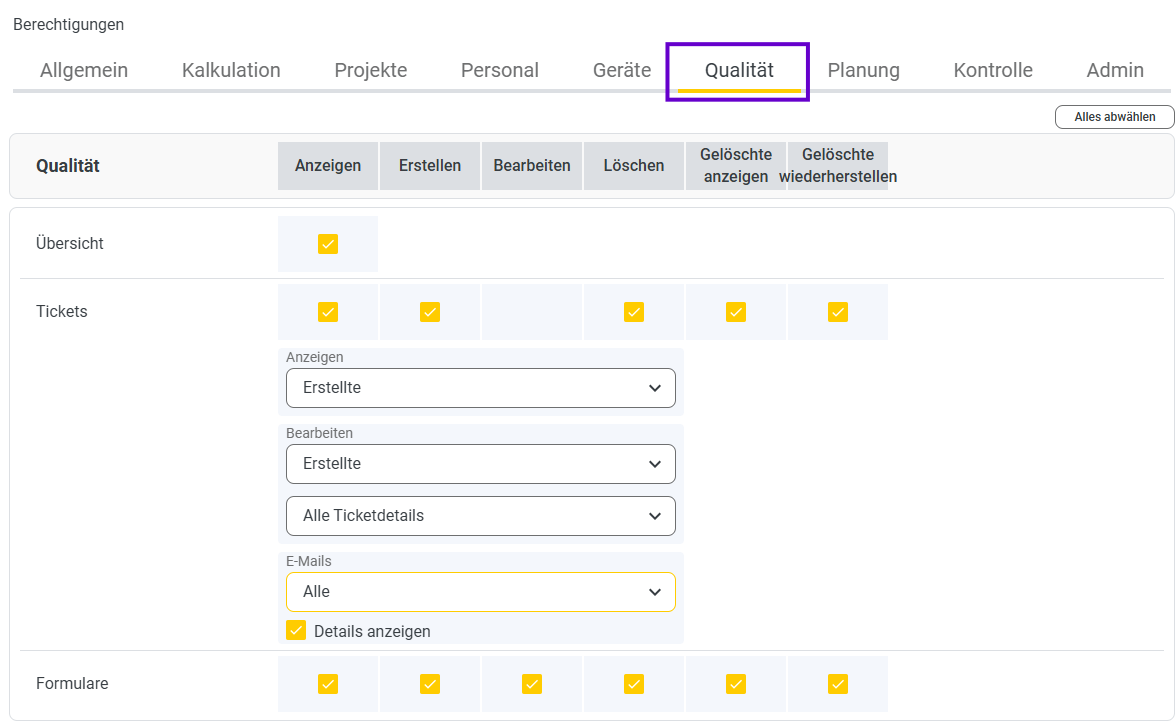
In the Quality section, you can configure the rights to View, Create, Edit, Delete, View & Restore Deleted.
In the Tickets section, you can define the rights for viewing and editing tickets.
Additionally, you can set whether an email should be sent here.
Learn more about the Quality section at here.
Planning
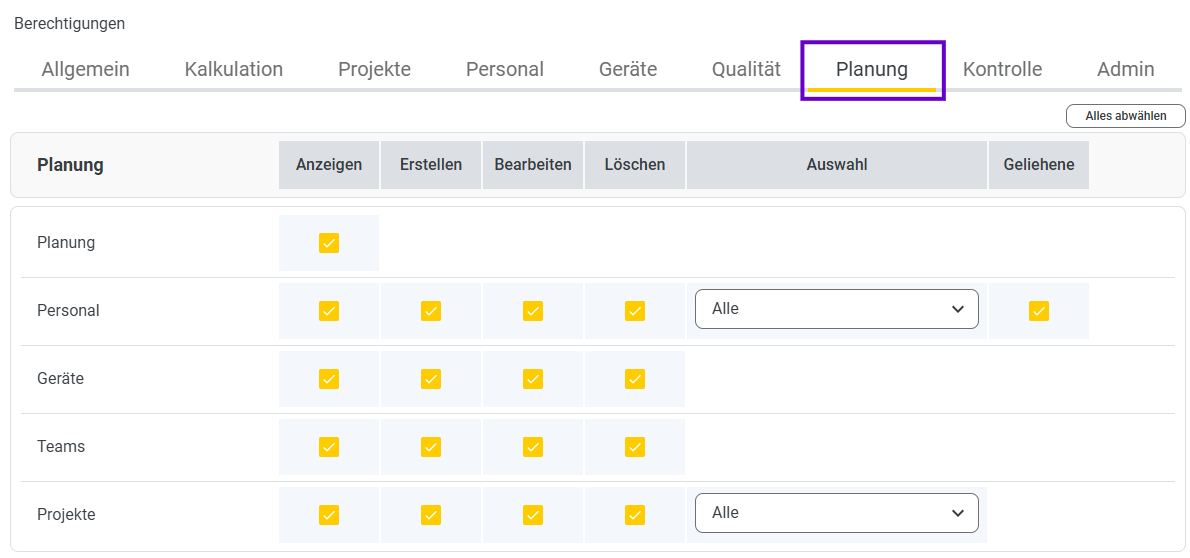
In the Planning section, you can assign the permission levels View, Create, Edit, Selection (Self Only, All, Teams Only), and Borrowed to the individual submenu items. Self
Only
: You can only make your own entries in the planning.
All:
You can plan for all staff and all projects.
Team:
You can create plans for yourself and for the teams assigned to you.
You can learn more about the Planning section at here.
Control
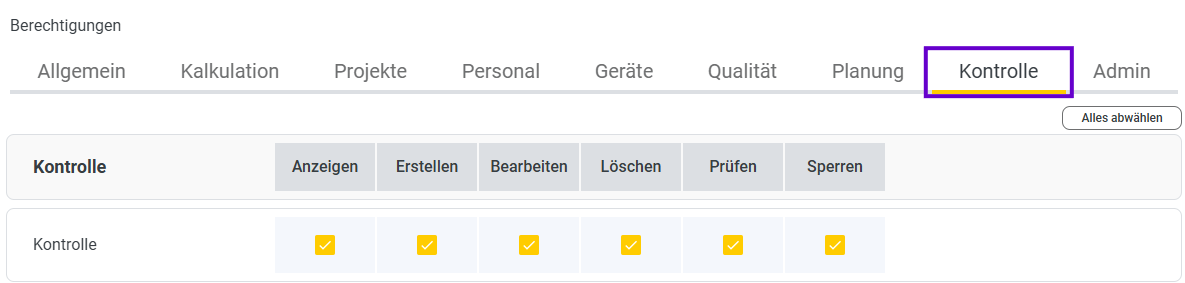
In the Control section, you have the permission levels View, Create, Edit, Delete, Review, and Lock.
Learn more about Control at here.
Admin
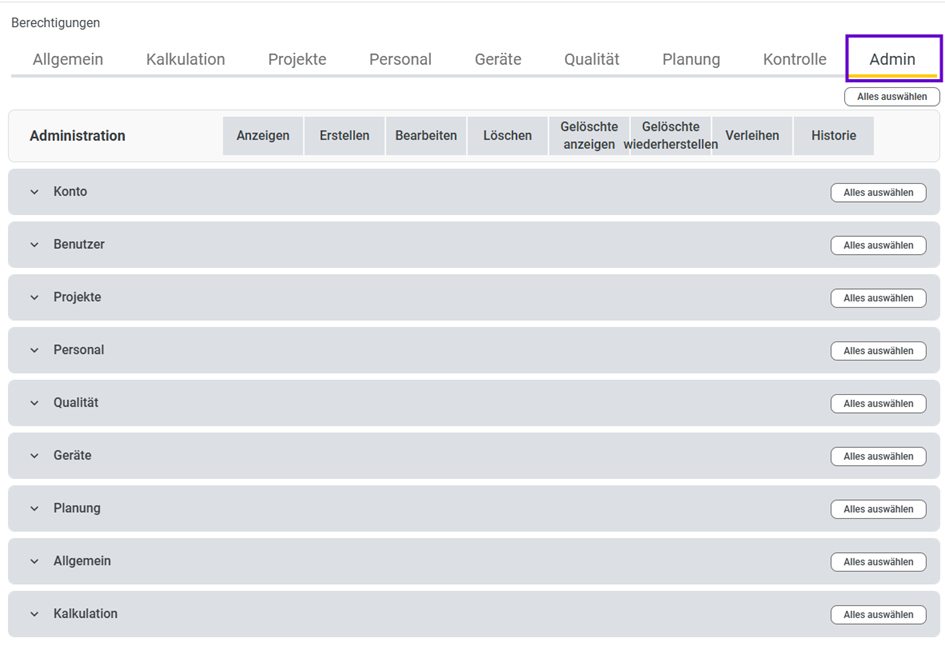
In the Admin tab, the menu items have additional submenu items. For example
, if you click on Users, additional subitems open.
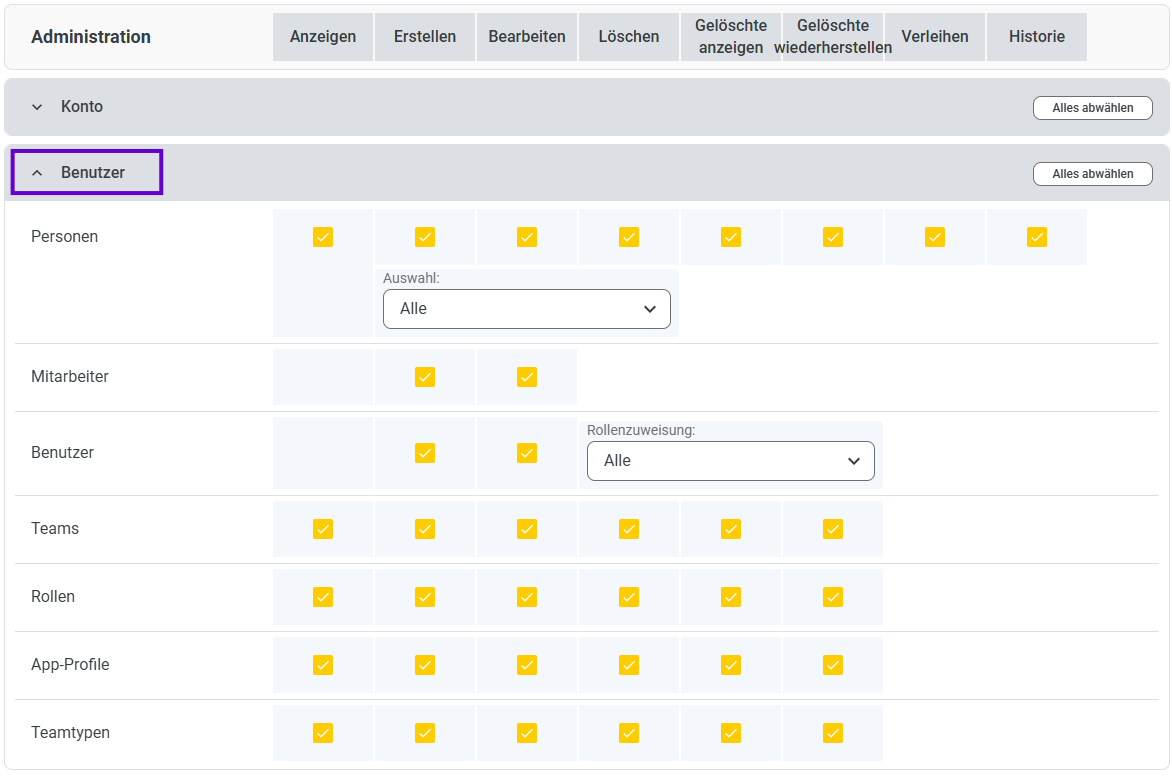
Here, you have the following permission levels: View, Create, Edit, Delete, View & Restore Deleted, Check, Assign, and History.
Additionally, you have selection fields in certain sub-items.
You can find more help articles on the Admin section at here.