Planning settings
Written By knollp
Last updated About 1 month ago
Click the More -> Admin -> Scheduling -> Settings buttons to access the scheduling settings.
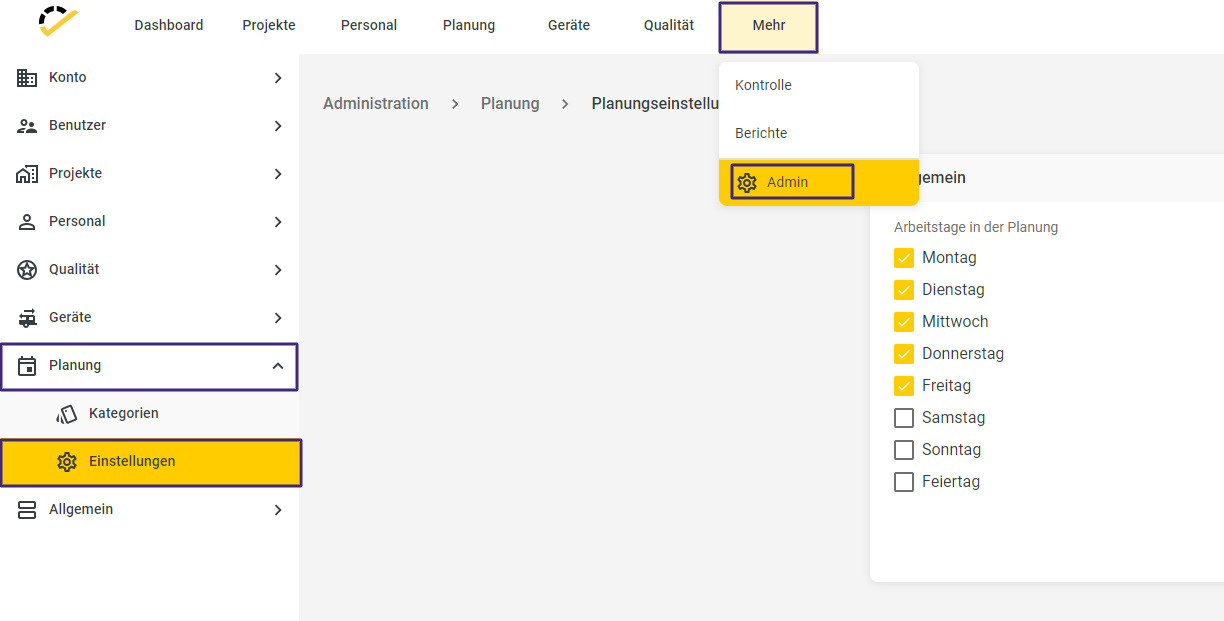
Here, you can define which workdays are automatically filled in the schedule and which are grayed out, for example, when a range spanning multiple days is entered. To enable the days, check or uncheck the boxes for the days accordingly.
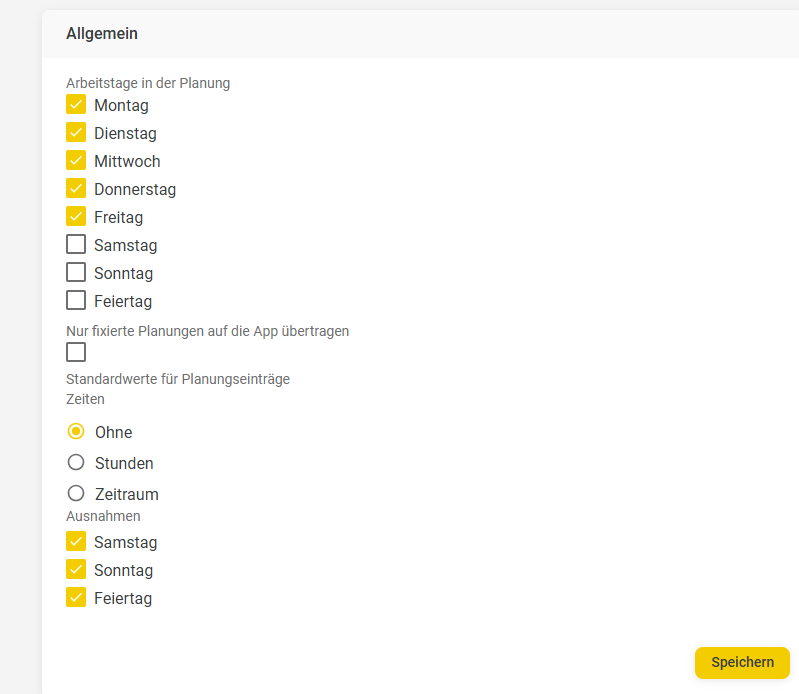
If you check the box for "Transfer only fixed schedules to the app," only these entries will be displayed in the app.
You can choose to display the default values for planning entries either in hours or as a time period.
Using the "Enable Exceptions" option, you can also hide certain days, such as holidays, from the schedule.
Then click Save.
Similar to the description above, here is an example for a 4-day week.
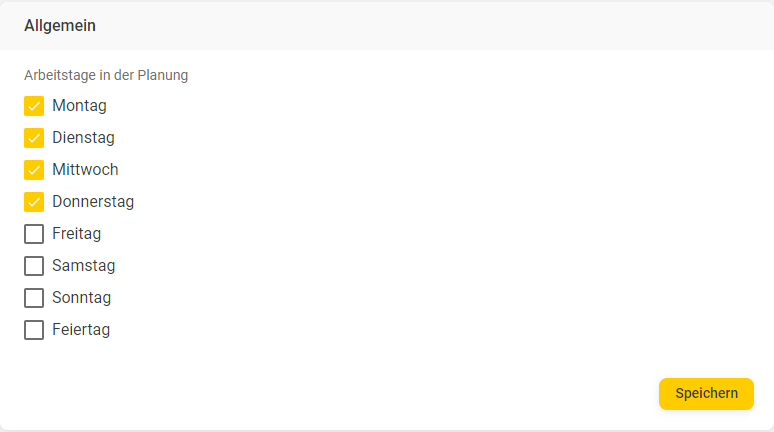
Schedules are created from Monday to Thursday.

On the deactivated days—Friday through Sunday—the schedule is not taken into account (shown in gray). Last-minute changes can be made by clicking on the desired day and using the "Schedule for this day as well" function.
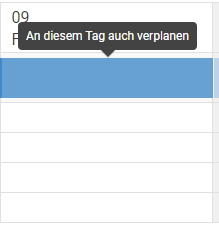
This activates the day on a one-time basis.
