General projects
Written By knollp
Last updated About 1 month ago
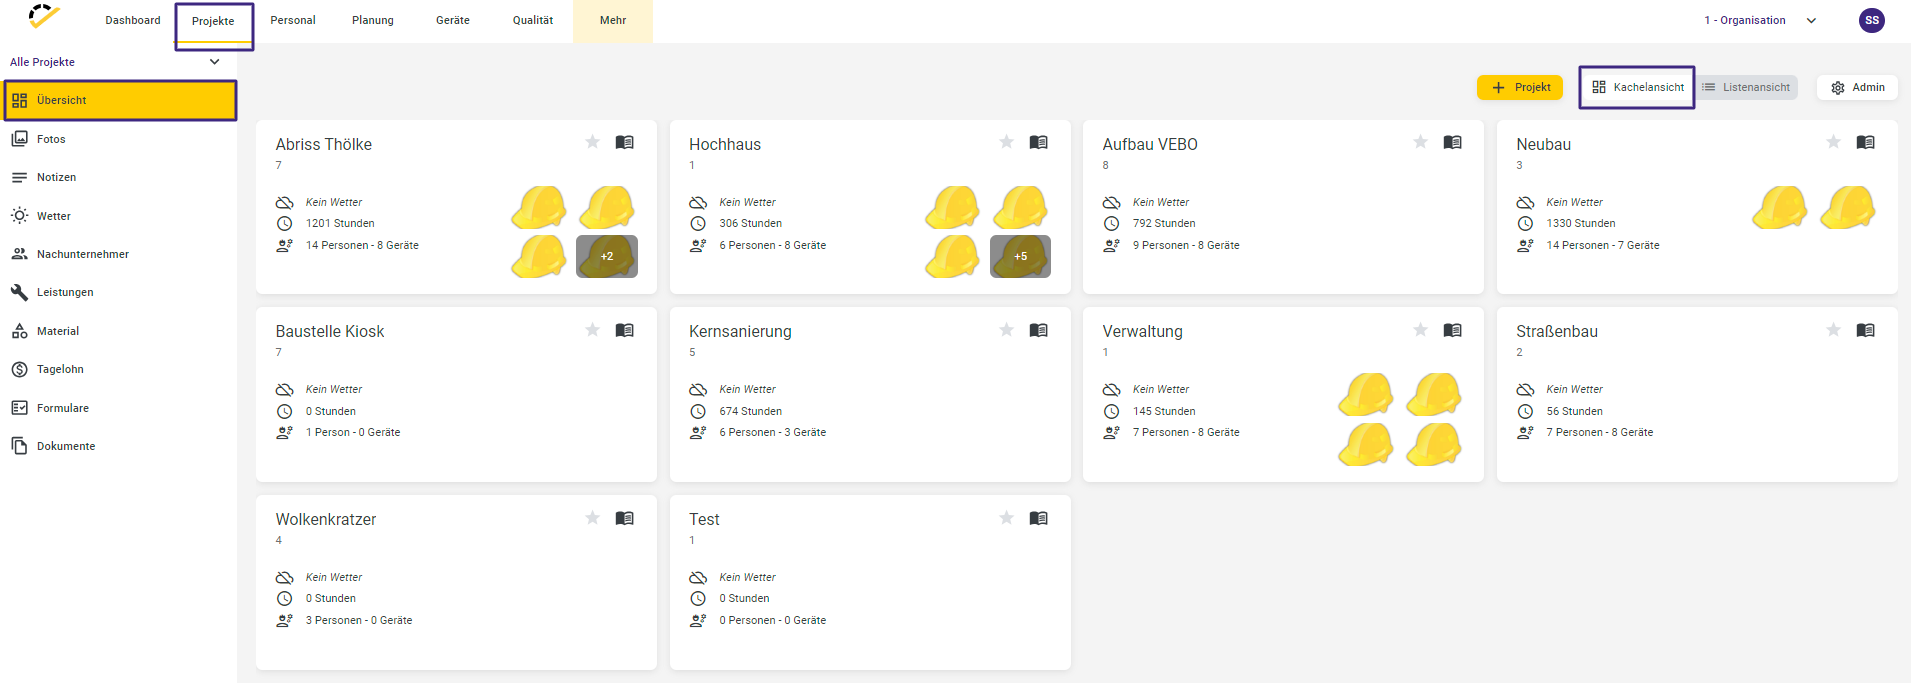
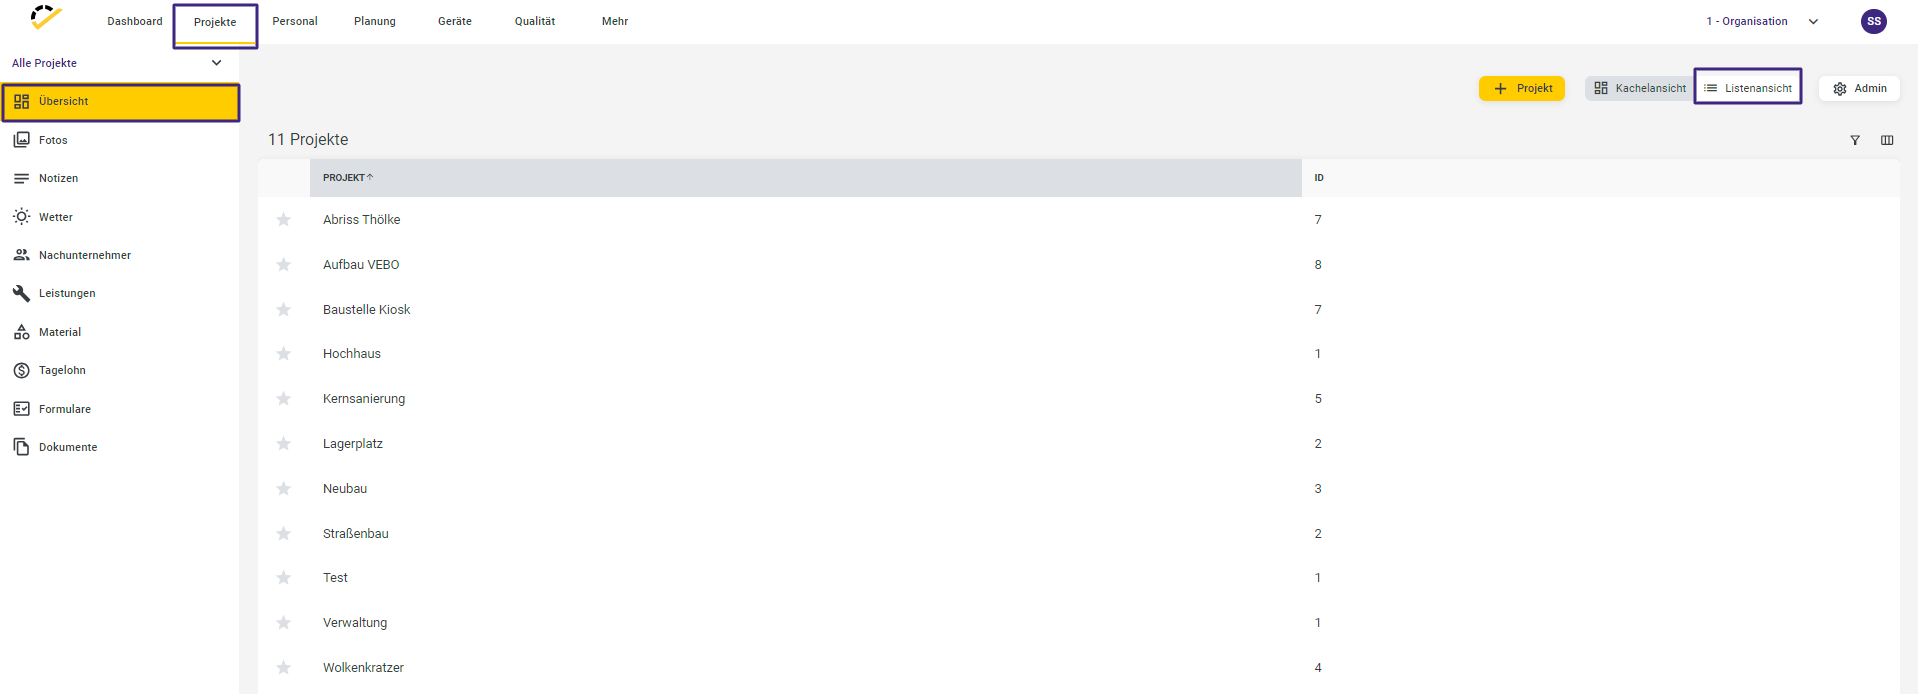
The Projects -> Overview buttons display a list of your projects. You can view the projects in either tile or list view.
To enable tile view, select the "Tile View" button in the upper right corner.
To activate the list view, select the "List View" button in the top-right corner.
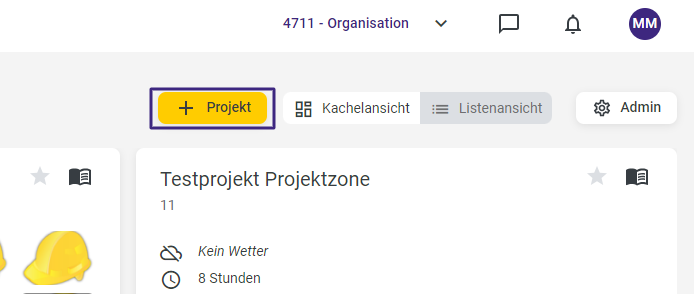
Click on +Project in the top right corner to create a new project.
The following entry form opens.
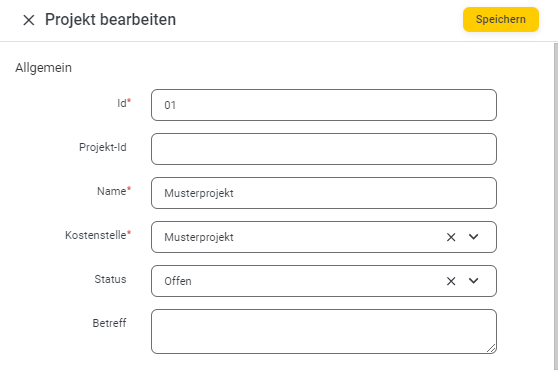
To make it easier to find projects, you can freely assign a name using the ID and Name fields. This can be, for example, an order number, an internal cost center number, or a descriptive name for the project. A cost center must also be specified. You can find out how to create one at here. These fields are required.
The following options are available in the Status dropdown menu (fixed, cannot be expanded):
Open
Pause
Closed
Quotation Phase (relates to the Calculation section)
When a new project is created, it is automatically assigned the status Open. After the project is completed, you can change the status to Closed. With this setting, the project is no longer displayed in the selection lists.
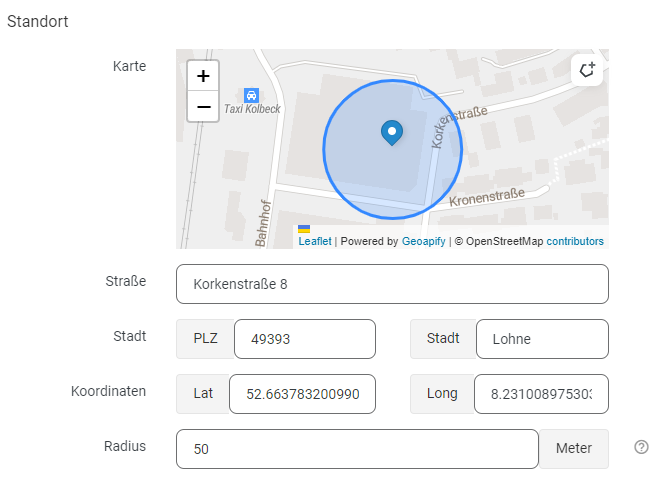
When you enter the project address, the program automatically determines the GPS longitude and latitude. Based on these GPS coordinates, the project is then positioned on the map using a location marker. You
can also set a radius for this project.
Additionally, you can edit the geofence using the Geo-Fence + icon in the top-right corner of the map.
Be sure to enter at least one activity in the assignments. Only then will you be able to record times for this project. Otherwise, the project will not be available for selection in the drop-down lists.

Note: Site managers do not necessarily have to be employees. In the Site Manager selection field, you can also enter people who do not track time.
You can enter working hours for the project. You can find instructions on how to create working hours at here. You
can also assign a project role to a project.
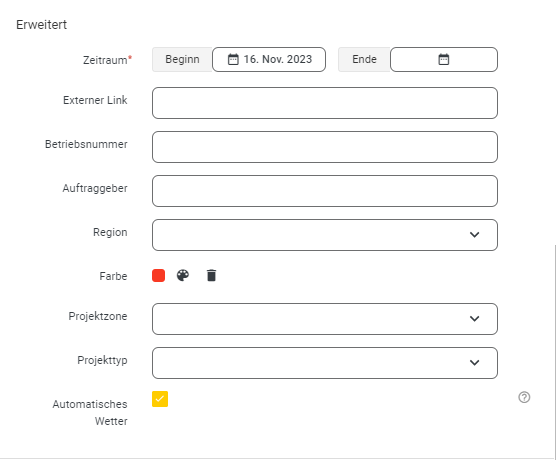
The Start field is automatically created when you create a new project. Adjust the date if necessary, as the construction site will only be available in the selection lists starting from the specified date.

Optionally, you can enter a project zone and a project type for the project. The project zone defines a specific radius around your company or branch, within which other projects may be located. The project type identifies the nature of a project. Here, you can specify, for example, whether it is a night project, a hazardous project, or a tunnel construction project.
Use the Automatic Weather option to enable automatic weather tracking. If the project is active and GPS coordinates are available, the weather is determined daily at 7:00 AM, 12:00 PM, and 5:00 PM and recorded in the data. This means you can view the weather data for the construction sites via the menu items Projects -> Weather.

Once all the entries described above are complete, save them using the Save button.
You can create various layers and plans within a project.
Click "Create Level" to create a new level.

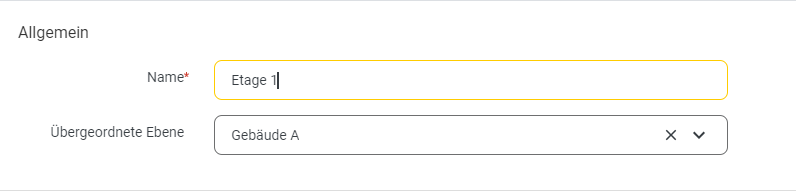
You can now give this level a name and, if necessary, subordinate it to another existing level.
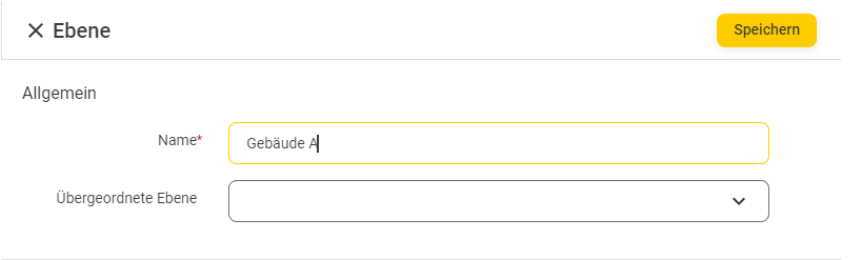
Then click Save.
To create another layer, repeat the process as many times as necessary.
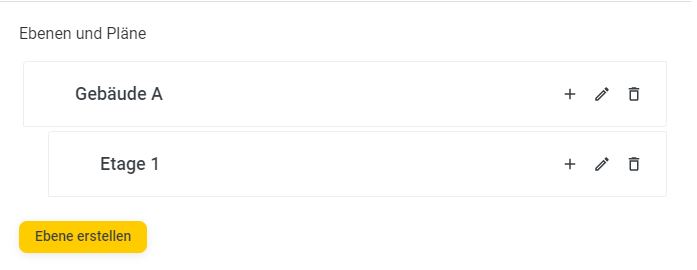
Within these individual levels, you can now add a sub-level. There are two ways to add one.
Option 1:
Click "Create Level" again
Once the process has been saved, Floor 1 will automatically be attached to the selected layer.
Option 2:
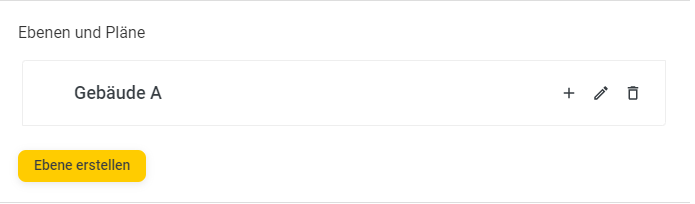
For example, click the plus sign next to the "Building A" level.

A new window will now open where you can edit the level.
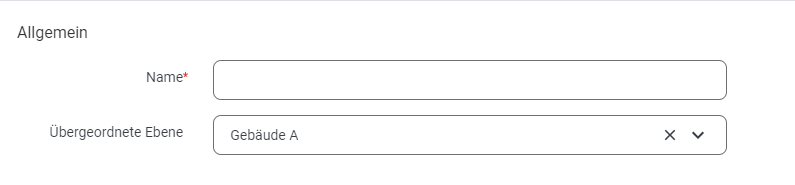
Unlike in Option 1, the parent level is already entered here.
If you want to edit a level and, for example, add a plan later, simply click the pencil icon.

To upload a plan, drag and drop files or browse your files. The plan is uploaded immediately and saved to the layer.
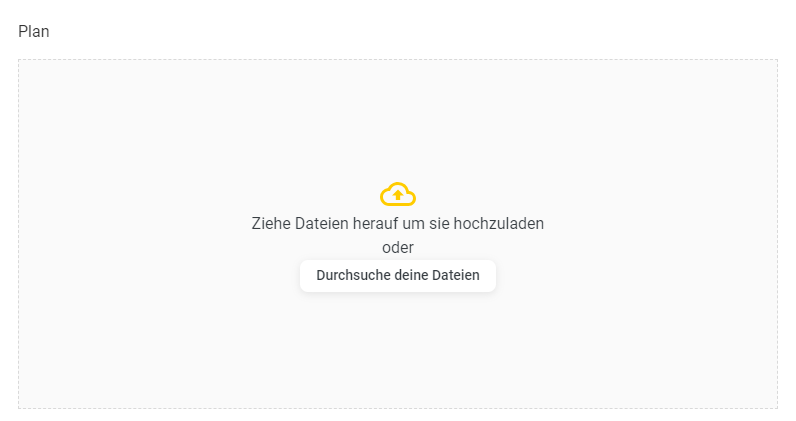
You can now tell that a plan is available by the icon in front of the layer.