Planning categories
Written By knollp
Last updated About 1 month ago
You can organize your schedules into categories to get a better overview of your planning.
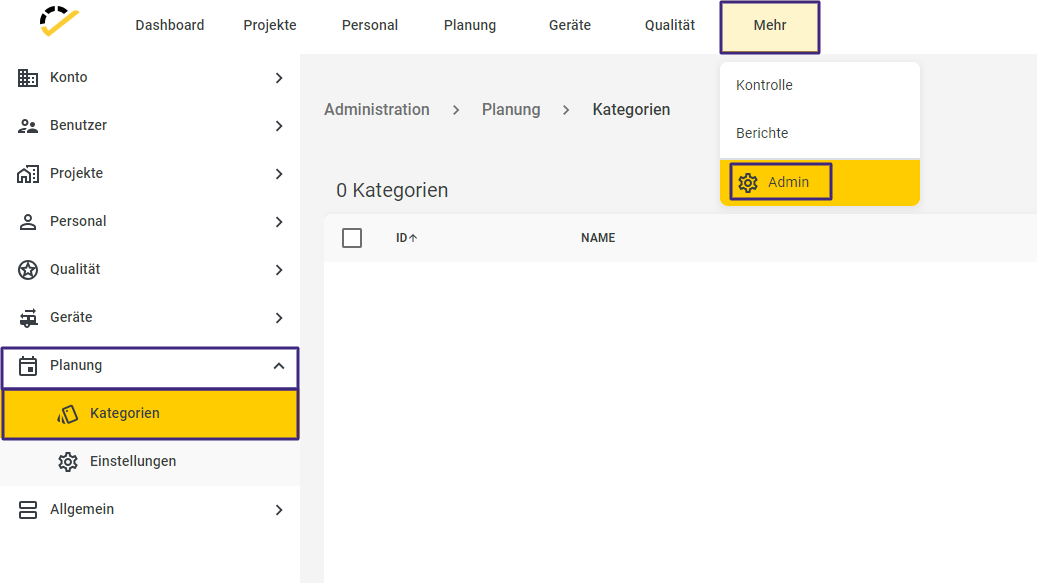
First, go to More -> Admin -> Planning -> Categories.
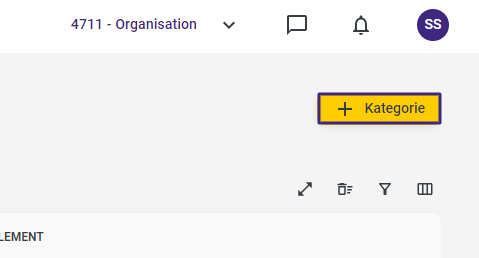
Then click the +Category button in the top right corner.
The Name field is required.
The Id, Color, and Text fields are optional.
Note: The Color field is used to assign the color of your planning category to the planning entry, thereby creating a clearer overview.
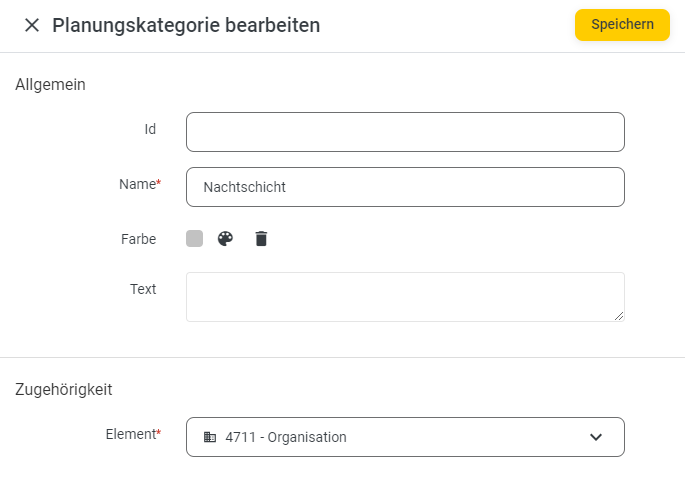
Click Save to complete the entry.
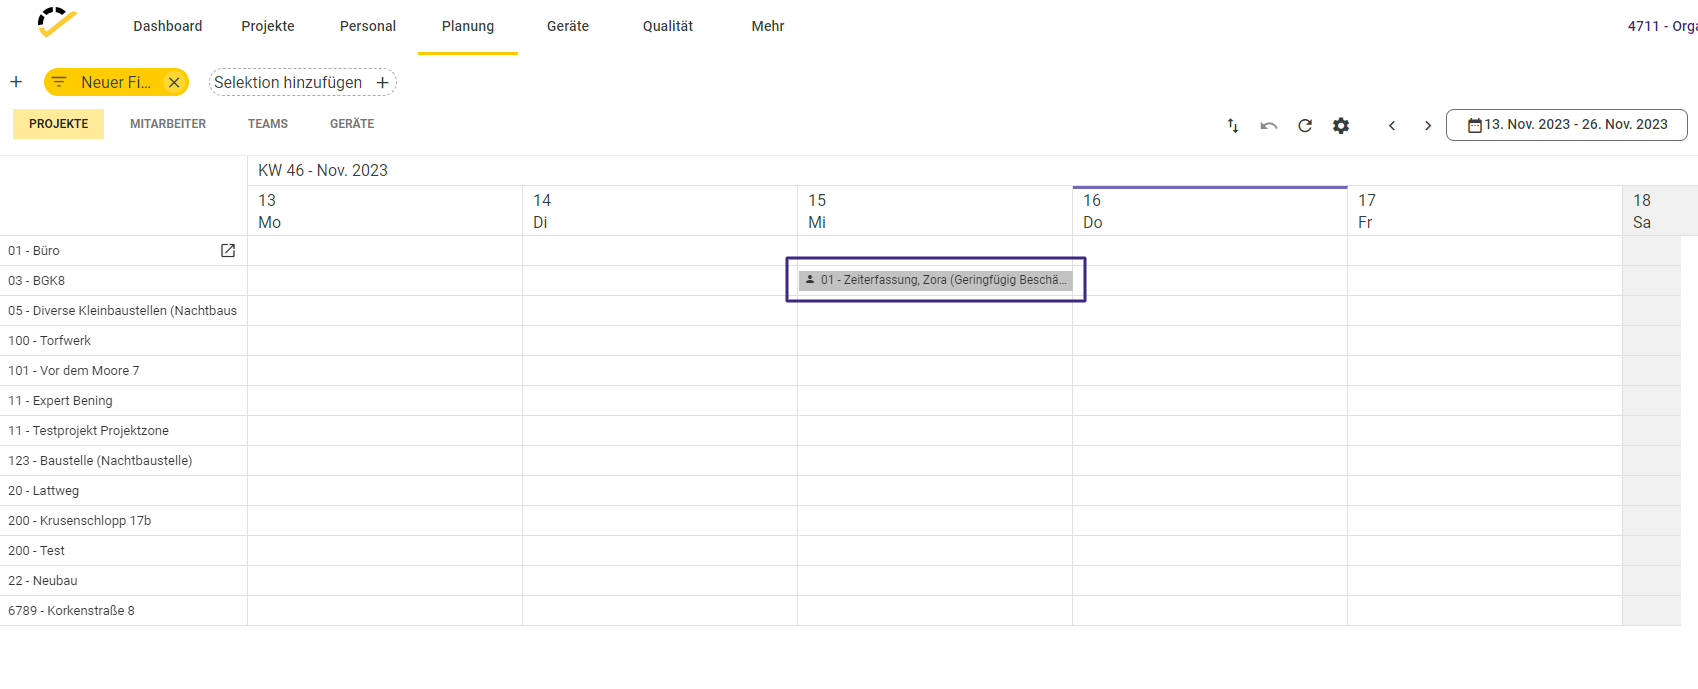
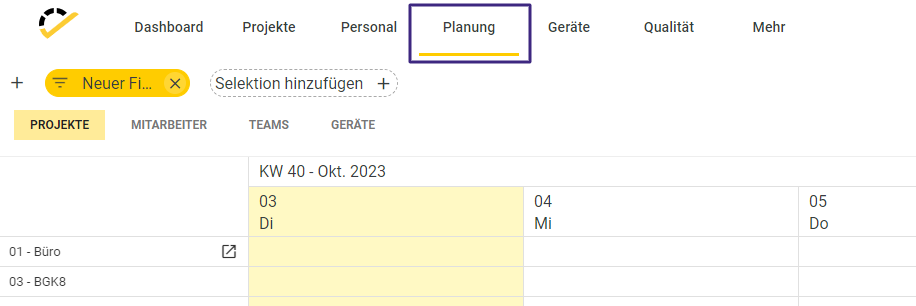
Now navigate to Planning in the top menu bar.
When you are in the editing screen for a plan, you can enter the planning category you previously created in the General section at the bottom.
If you’d like to learn more about the general use of planning, click here.
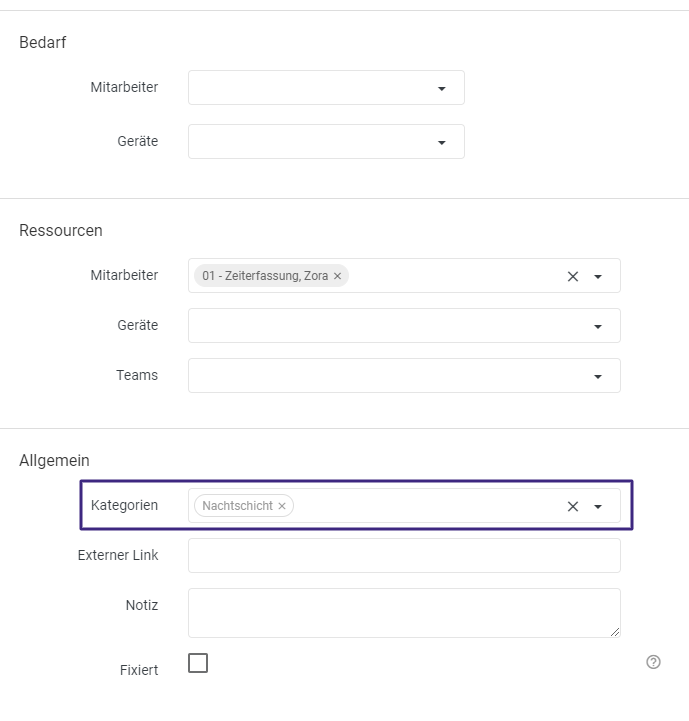
The plan will now automatically adopt the color of the planning category that you previously specified when creating your planning category.